Okonomiyaki on the Teppanyaki
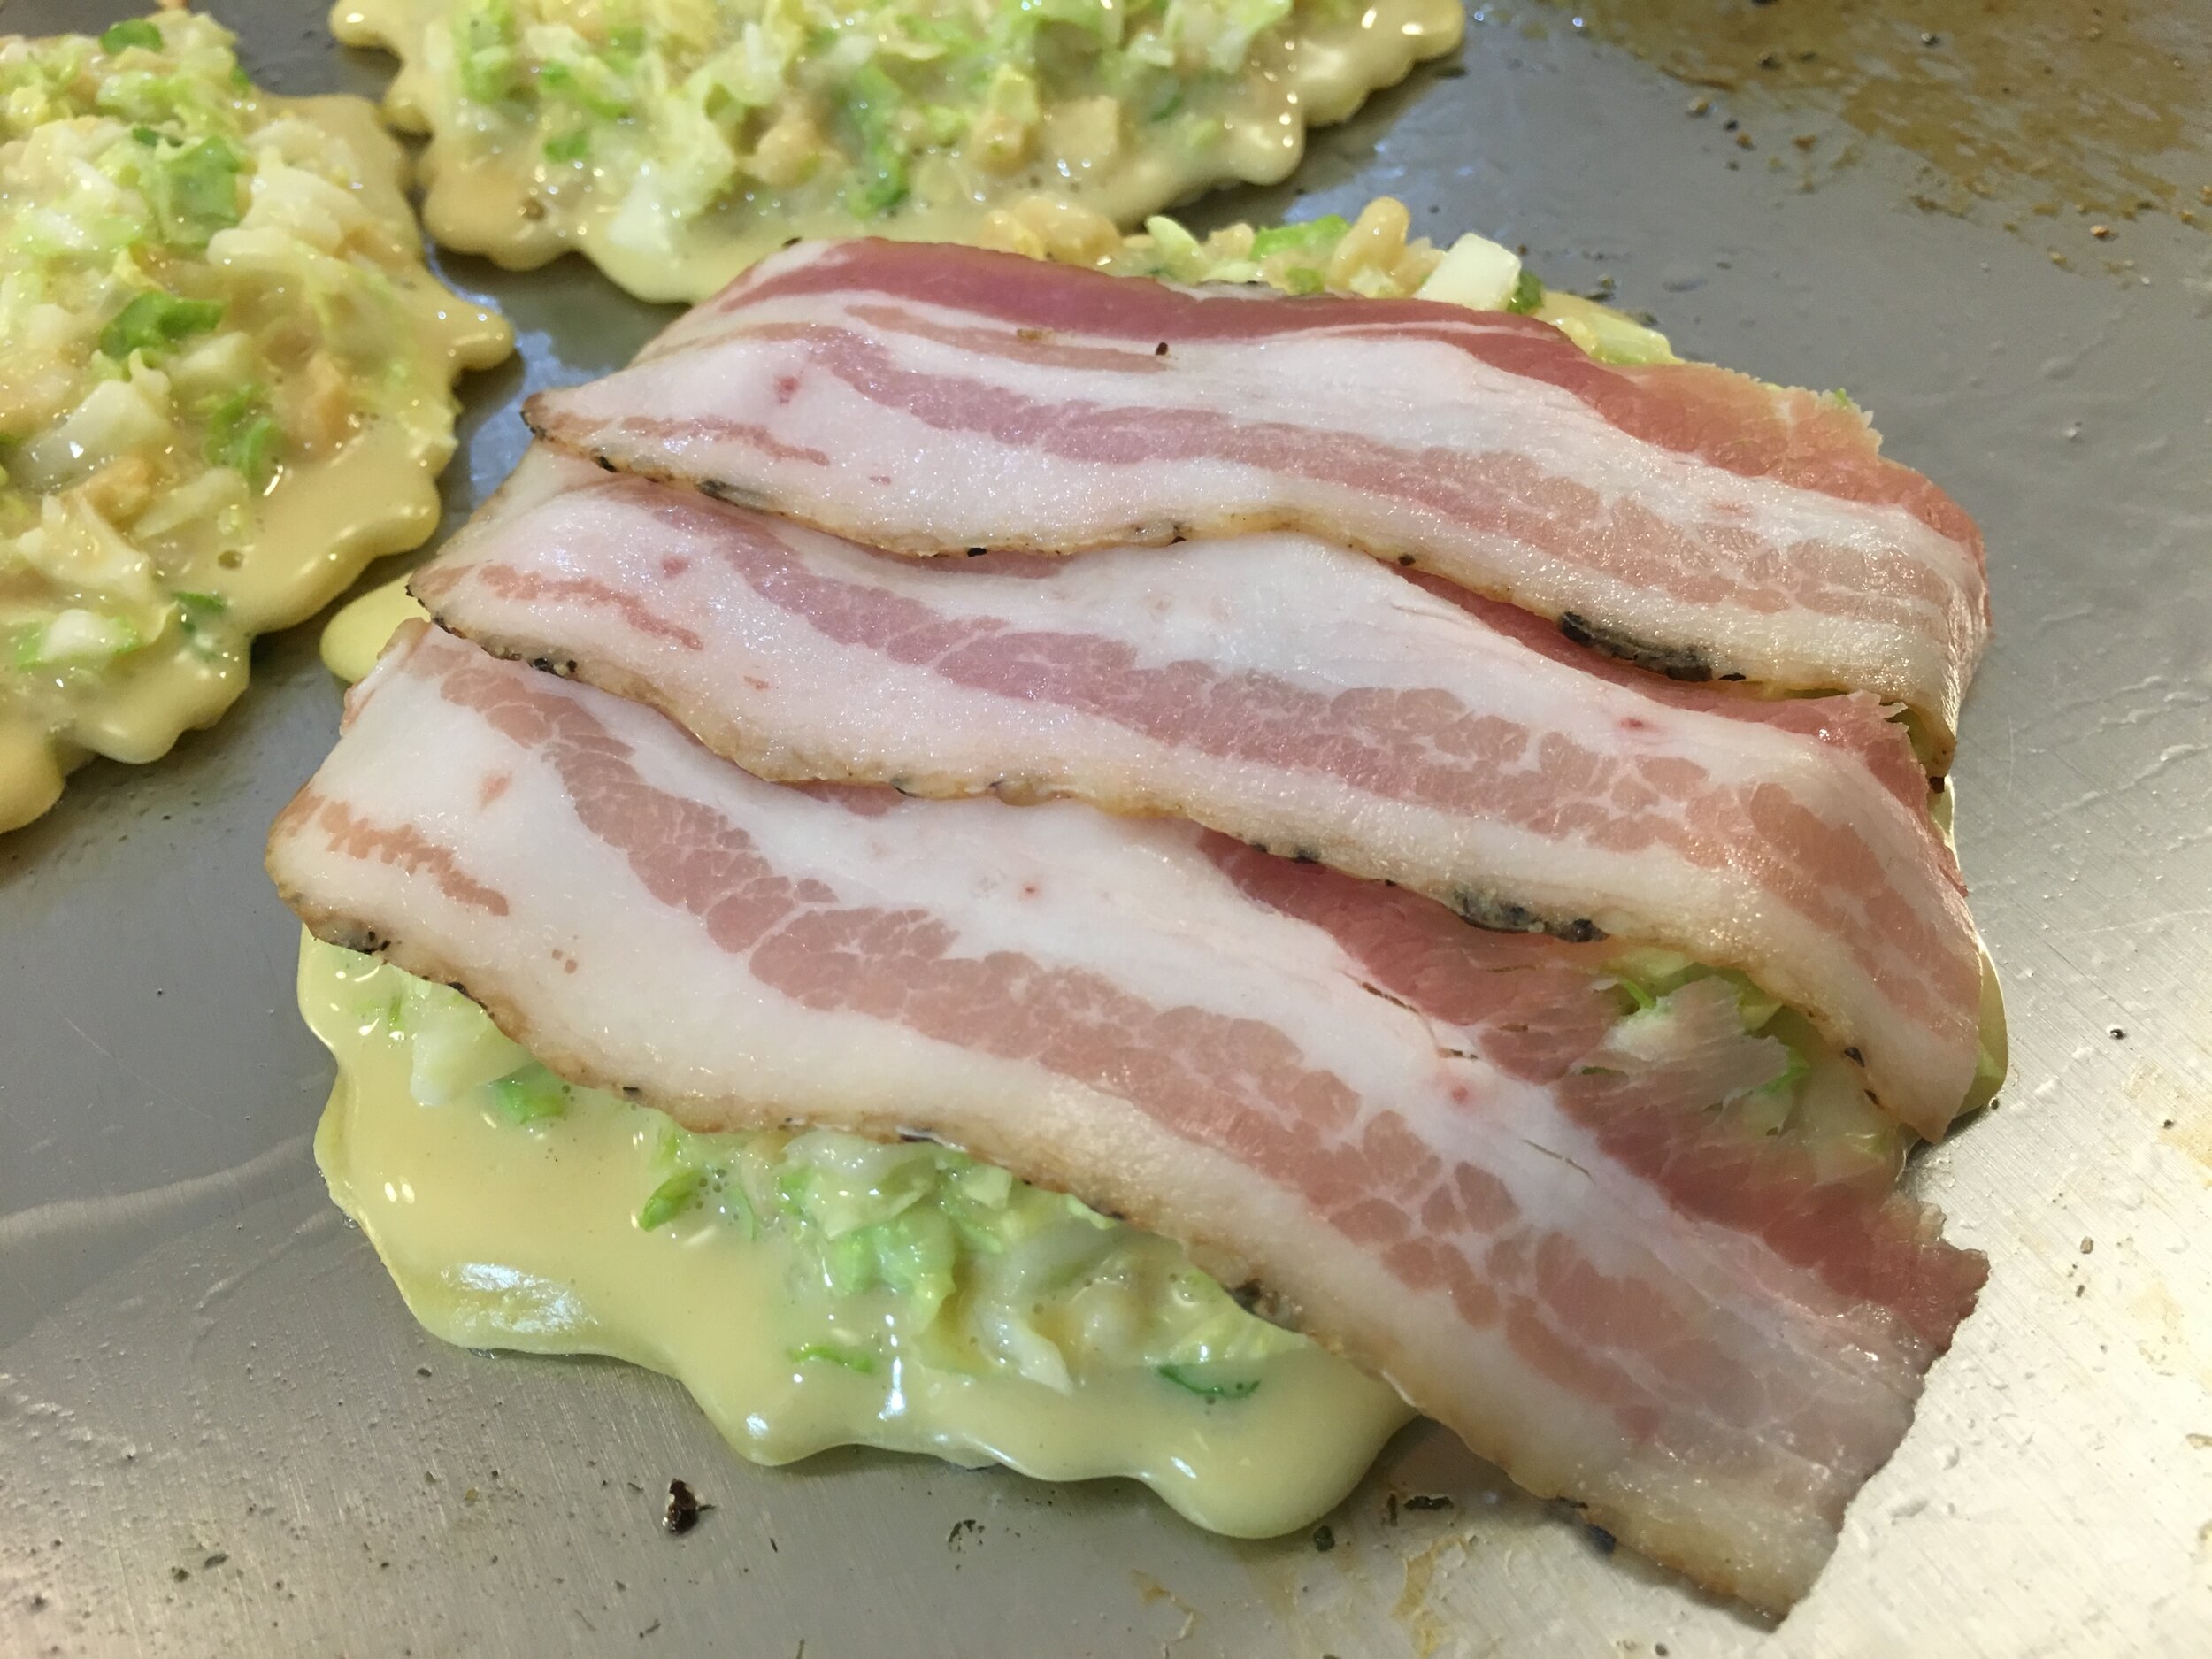
This is one of those dishes that requires a little extra effort, but the payoff is well worth it. The original version of this recipe on the Cook-N-Dine website was inspired by a Teppanyaki cookbook by Hideo Dekura. We decided to revisit the recipe after many years, mostly to enjoy it again and also to see what updates we could make for the recipe to be more accessible.[wpvideo 0W9TNhx7]So what exactly is Okonomiyaki, you ask? It's basically a Japanese cabbage omelette-pancake. The meaning of the word Okonomiyaki is "grilled as you like it", which is a great way to say that this dish can be prepared for most tastes, from vegetarian to carnivore. We found Just One Cookbook's page on Okonomiyaki to be another great source of inspiration, providing an in-depth background on the dish's history as well as many options for fillings and toppings beyond the standard version. She also mentions that this style of Okonomiyaki is from Osaka, with there being a Hiroshima version that involves layering the ingredients rather than mixing them together. (We may try that version another time. Please let us know if you've made the other, we would love to hear all about it!)The first step of the recipe required ordering some of the items from Amazon. If you happen to have an Asian market nearby, you can try there first; the convenience of getting everything in the mail with 2-day delivery was nice though. So once the Tencasu/Agedama, Japanese mayonnaise, Aonori flakes, Katsuo bushi, Katsuo dashi, Yamaimo, Okonomiyaki sauce and salted pickled red ginger arrived, we were ready for action! Of course there were several items we also had to pick up at our local grocer, like some Napa cabbage, eggs, 12 paper-thin slices of bacon and scallions, along with the flour, baking powder, sugar, salt and cooking oil.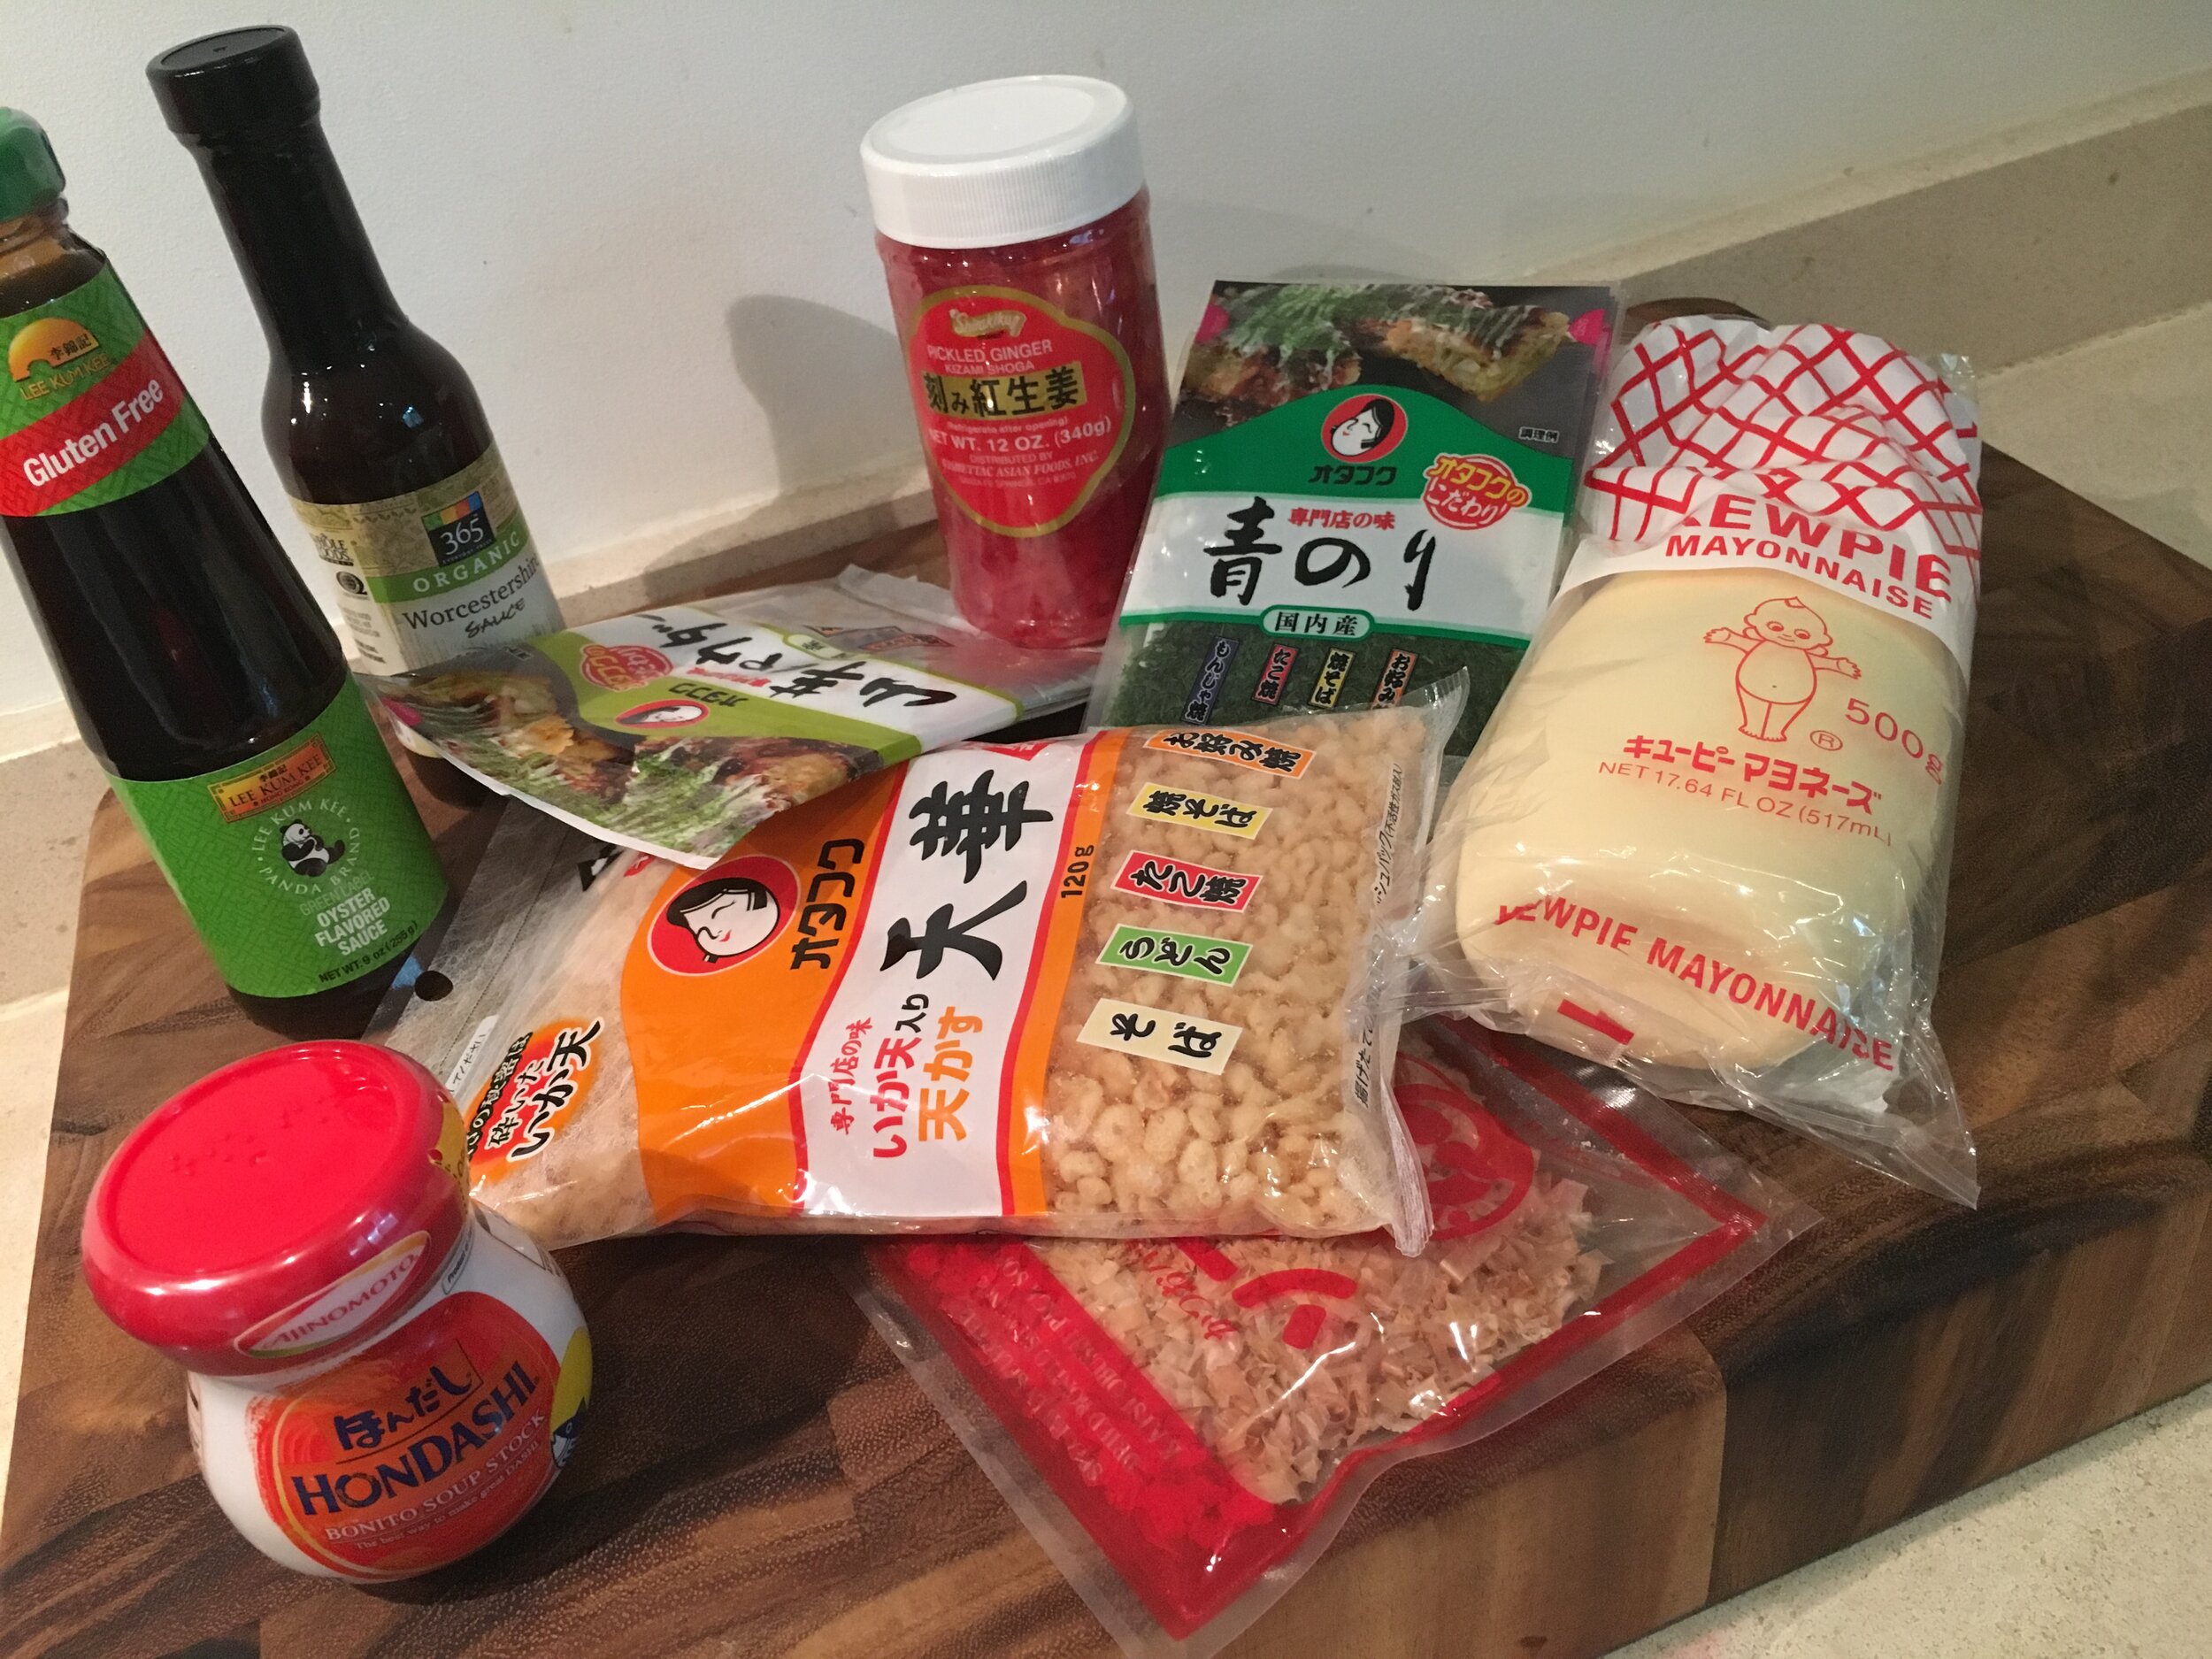 Batter up! We dissolved 1 tsp. of the Katsuo dashi powder in 180ml of water, then mixed it with 1 cup of plain flour, 10 grams of Yamaimo powder, 1/4 tsp salt, 1/4 tsp pepper, 1/4 tsp sugar, 1/4 tsp baking powder and 1/4 cup salty pickled red ginger. After whisking it all together, we placed the mixture in the fridge for about an hour. It can stay in the fridge longer, in case you want to prepare this part the night or morning before an event, as long as it is refrigerated for at least one hour prior to cooking.[wpvideo GoTHtoLC]Once we removed the mixture from the fridge, we added 4 large whisked eggs and 14oz of finely chopped Napa cabbage, being careful not to mix the ingredients, just folding them in to the batter with a spoon. Here we started to warm our Cook-N-Dine Teppanyaki Cooktop, preheating on #5, then turning it up to #7-8 once preheated. Using Grapeseed or any other neutral-taste high-heat cooking oil, we oiled the surface and spread it to thinly cover the cooking area. Now time for some fun sounds and textures! We added in the tempura scraps last, folding them into the batter gently with a spoon like the eggs and cabbage. You want to wait until the last minute for the addition of the tempura scraps in order to ensure they do not become soggy.[wpvideo nvtNKgQo]Using a ladle, we placed 3 Okonomiyaki pancakes in a circle to cook, each approximately 5” in diameter. We then topped each one with 3 thinly sliced strips of bacon and covered them with a lid, allowing them to cook for 3-4 minutes. After removing the lid, we made sure the bottom was nice and brown before flipping them over. You may have to push the edge back if they lose their shape.
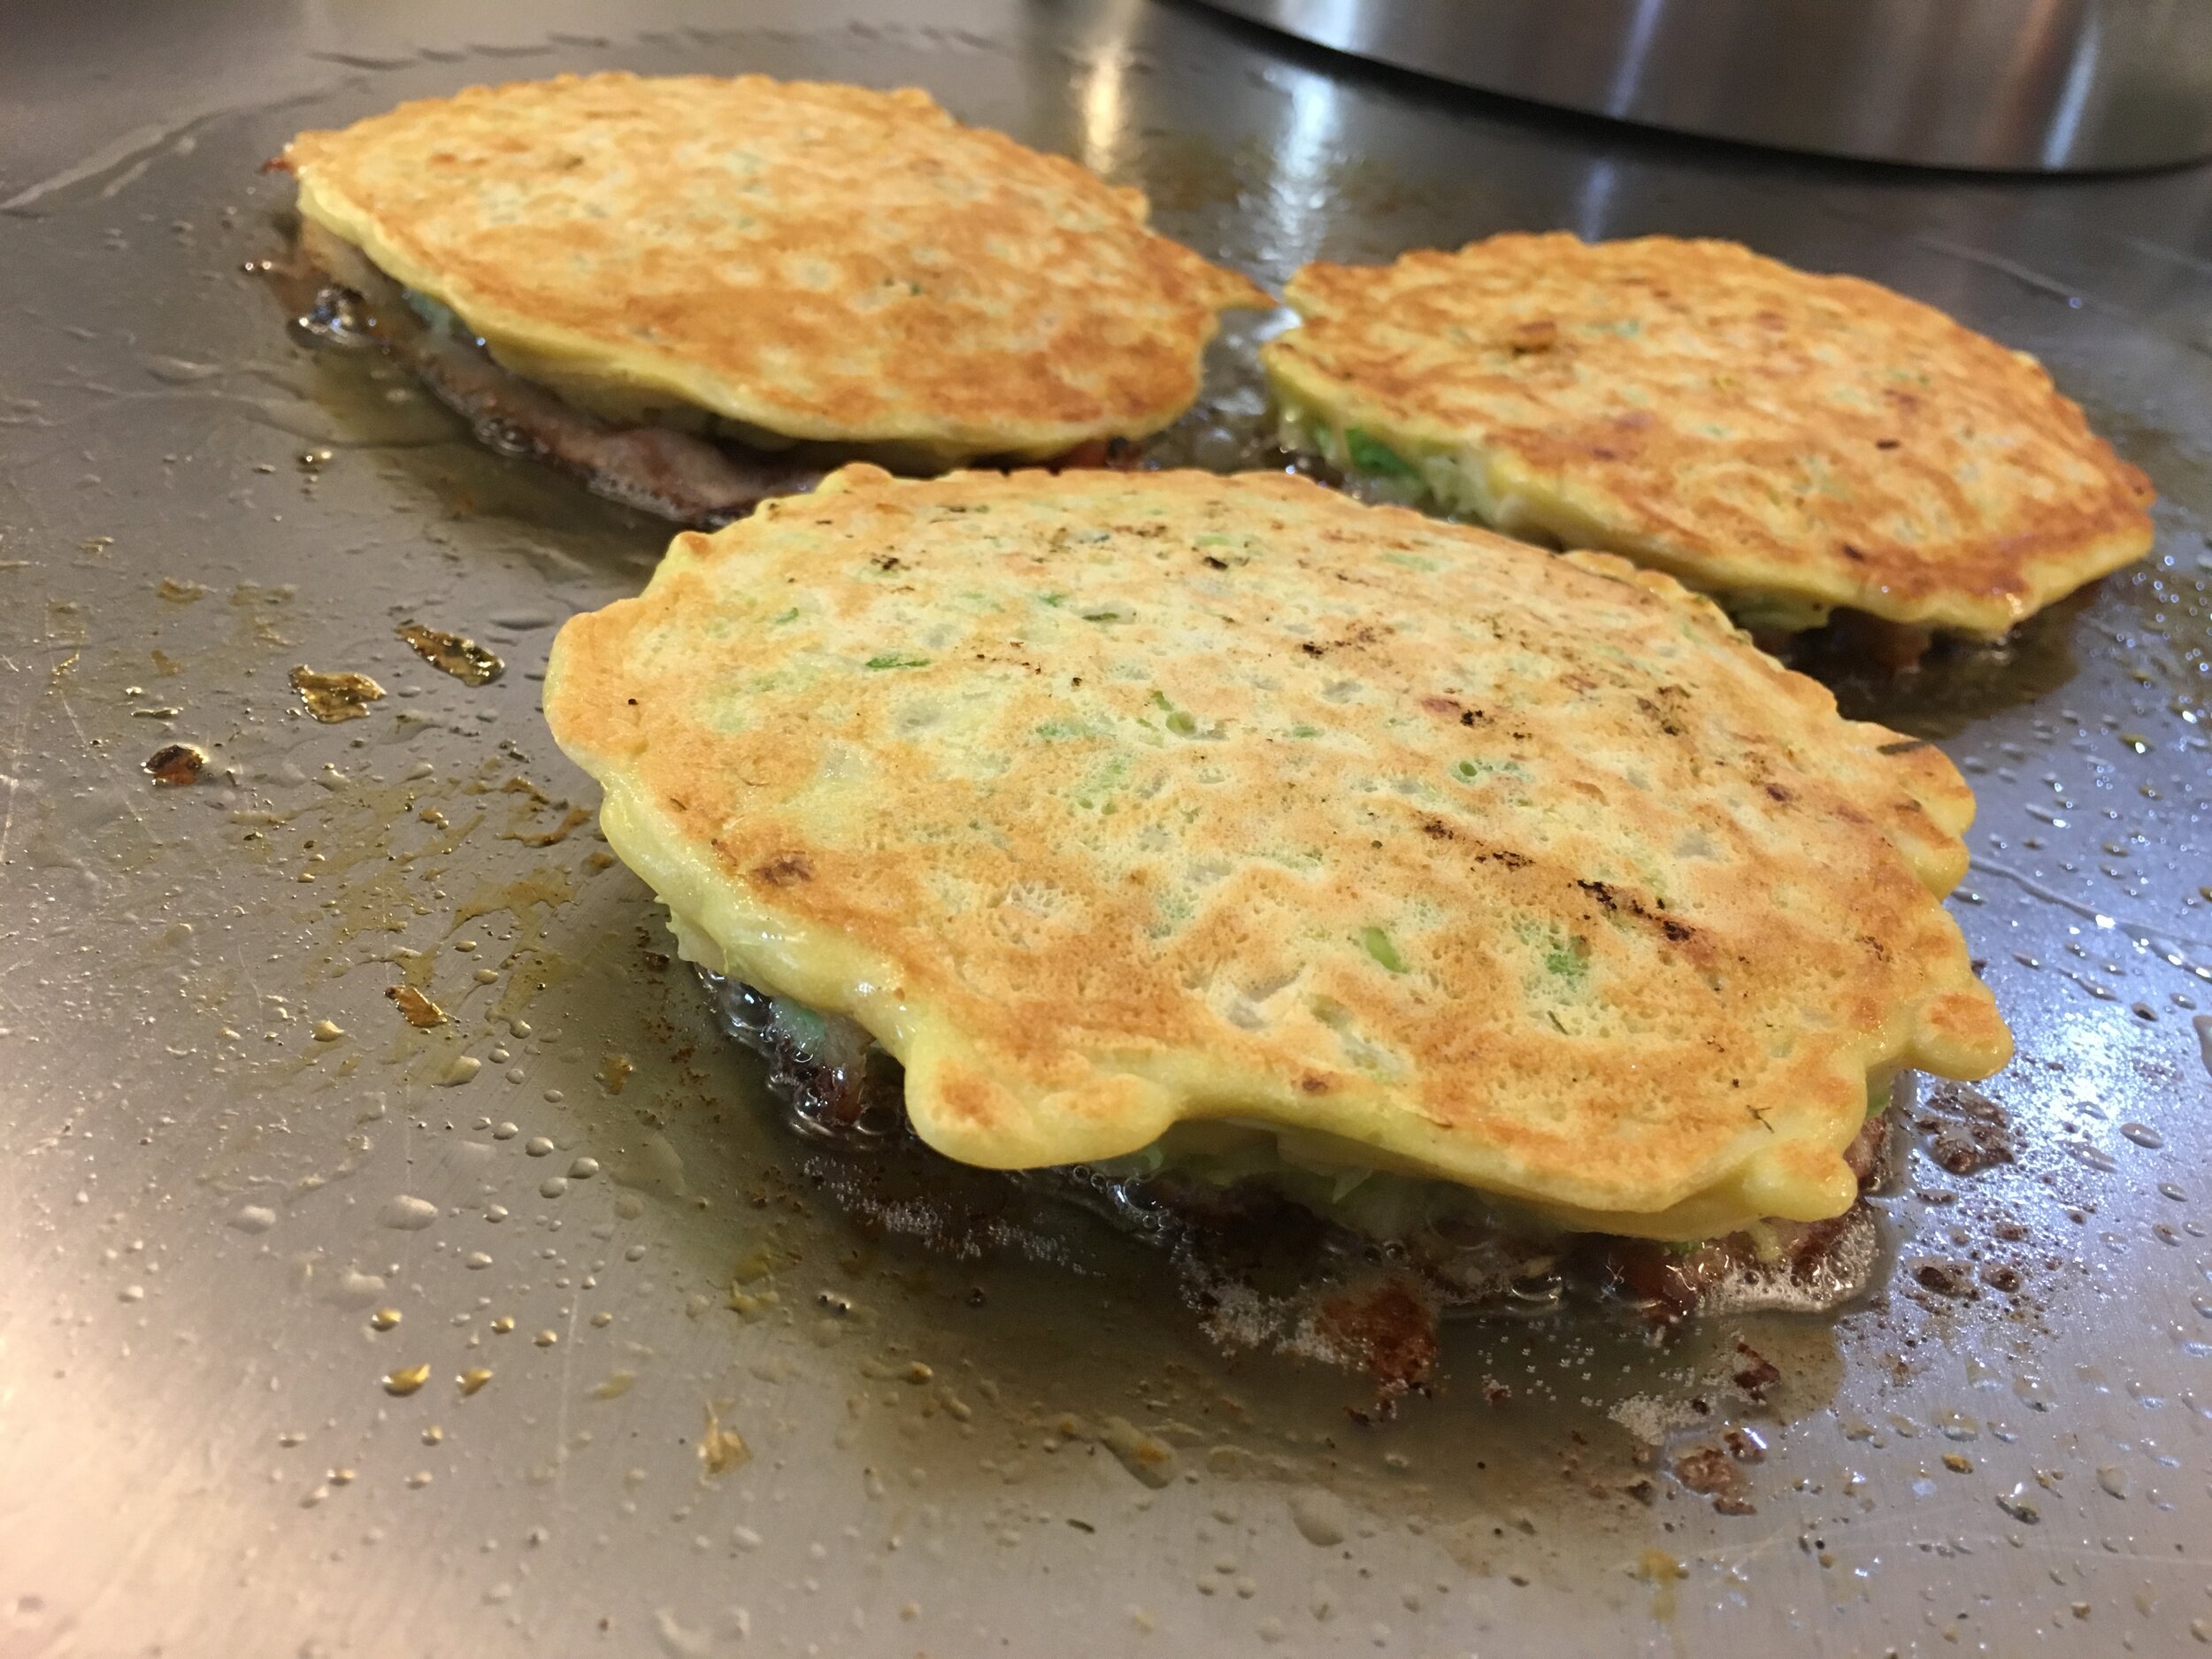
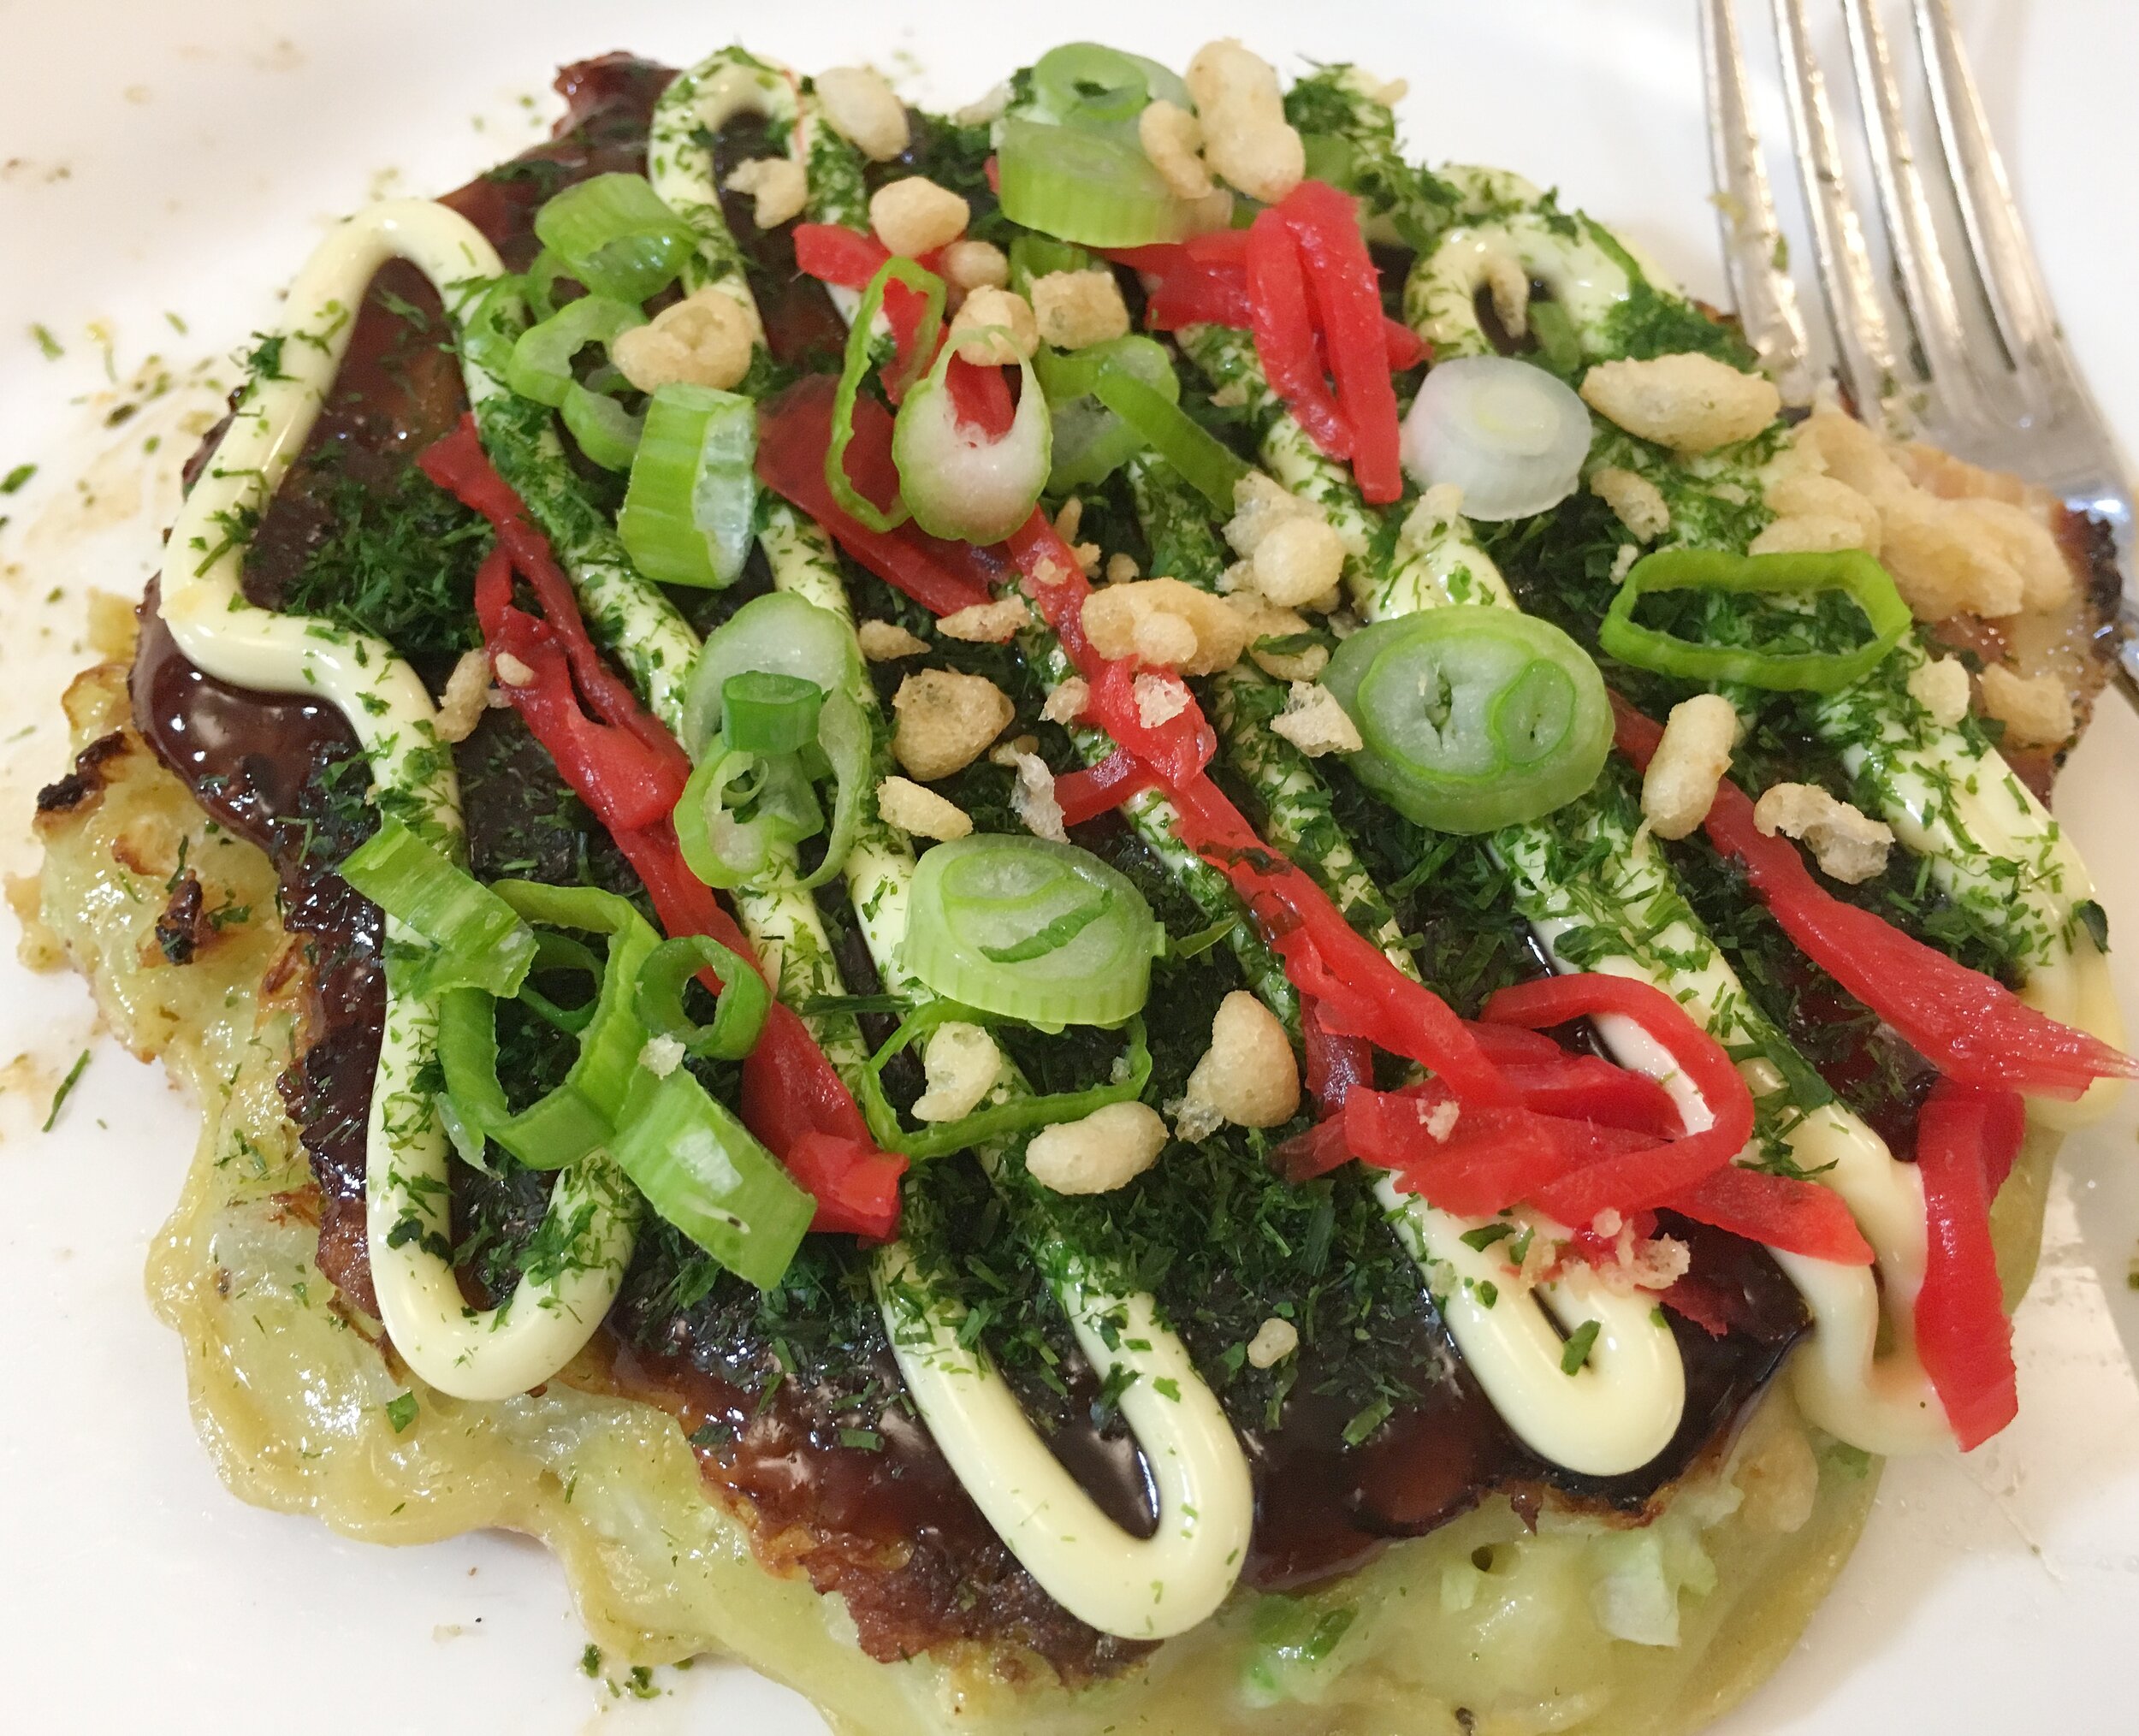
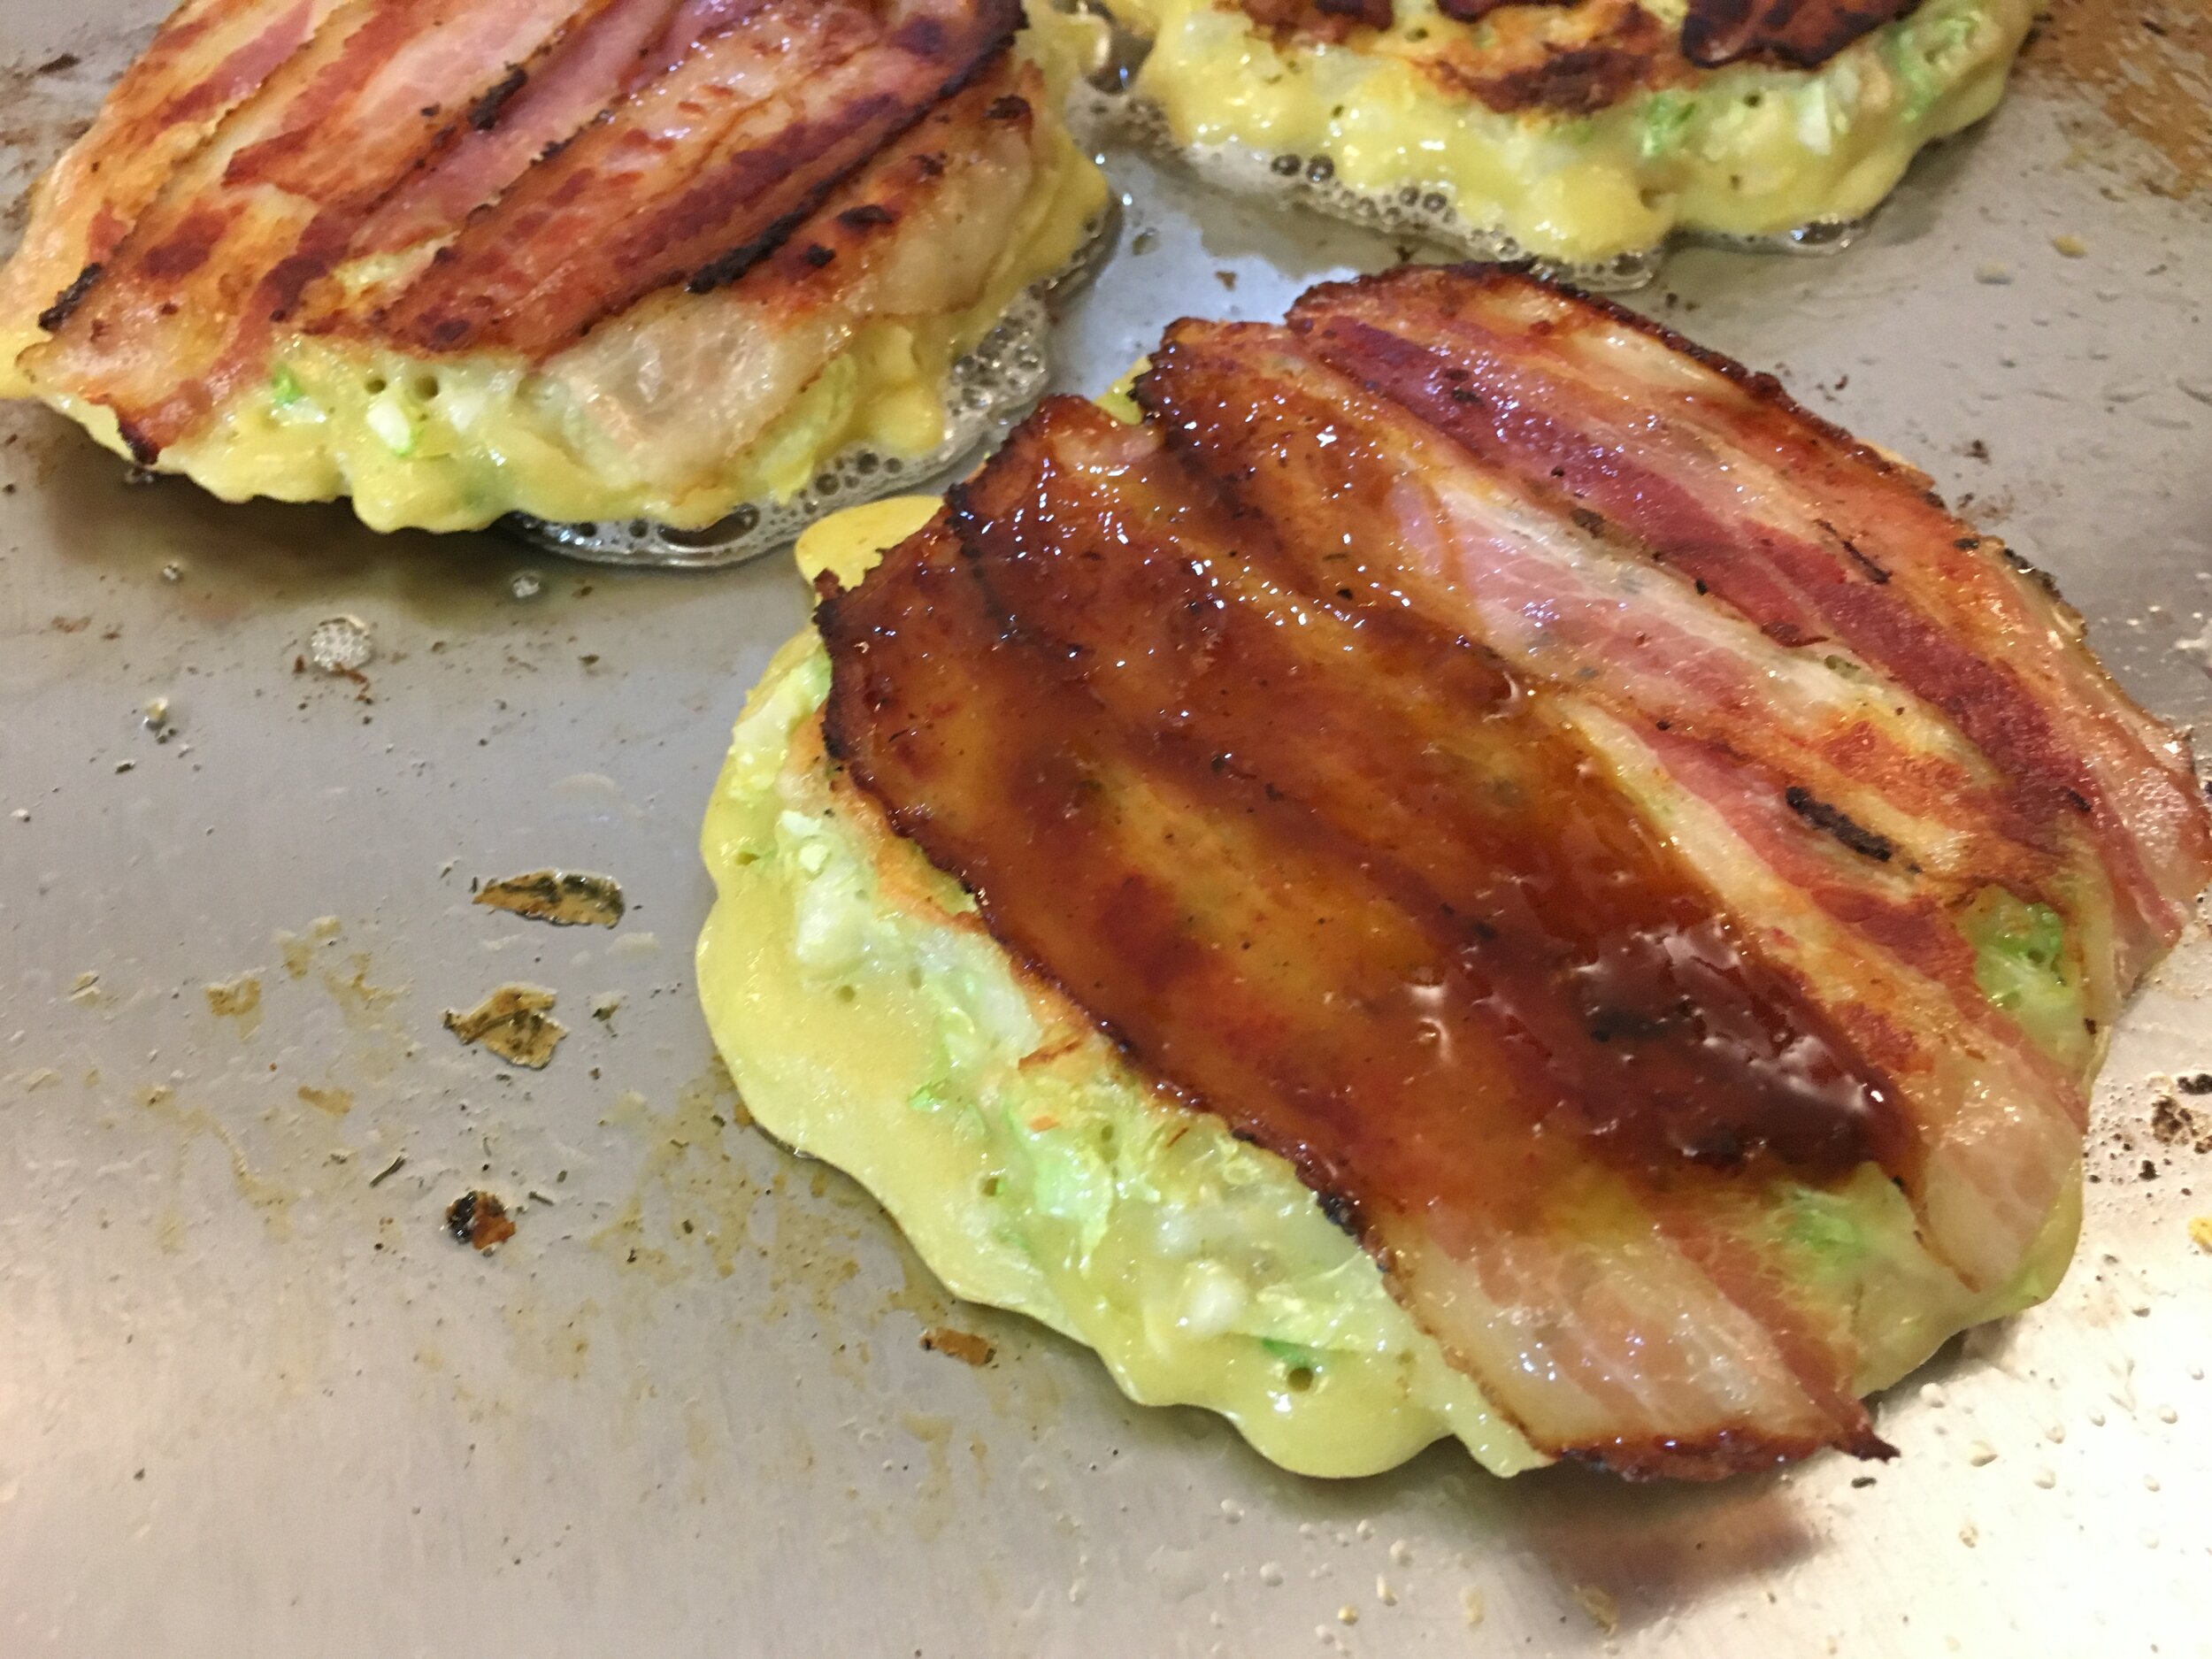 We cooked the Okonomiyaki pancakes for another 3-4 minutes, proceeding to move them to the warming area and cooking 3 more on the hot center. You can repeat this until all the batter has been cooked. Time to dress these beauties up! After switching off the teppanyaki, we spread Okonomiyaki sauce atop them then zigzagged the Japanese mayonnaise and sprinkled on the bonito and seaweed flakes. You can also add the salty pickled red ginger for an extra kick of flavor. Time to eat and enjoy!
 Printable Recipe

